今回はOCIに構築したwordpress 環境にZABBIを追加します。
すでにNGINX+MYSQL (MariaDB)+PHPが導入済みのため、簡単に構築できます。
インストールコマンドについては以下サイトにてZABBIXバージョン、OS、データベース、WEBサーバなどのミドルウェアを指定することでインストールコマンドを表示してくれます。素敵✨
ミドルウェア指定
- ZABBIXバージョン:6.2
- OSディストリビューション:Ubuntu(arm64)
- OSバージョン:22.04
- データベース:MySQL
- WEB SERVER:NGINX
インストールコマンド
Install and configure Zabbix server for your platform
a. Install Zabbix repository
ドキュメント
wget https://repo.zabbix.com/zabbix/6.2/ubuntu-arm64/pool/main/z/zabbix-release/zabbix-release_6.2-1+ubuntu22.04_all.deb
sudo dpkg -i zabbix-release_6.2-1+ubuntu22.04_all.deb
sudo apt update
b. Install Zabbix server, frontend, agent
apt install zabbix-server-mysql zabbix-frontend-php zabbix-nginx-conf zabbix-sql-scripts zabbix-agentc. Create initial database
ドキュメント
Make sure you have database server up and running.
Run the following on your database host.
mysql -uroot -p
password
mysql> create database zabbix character set utf8mb4 collate utf8mb4_bin;
mysql> create user zabbix@localhost identified by 'password';
mysql> grant all privileges on zabbix.* to zabbix@localhost;
mysql> SET GLOBAL log_bin_trust_function_creators = 1;
mysql> quit;
On Zabbix server host import initial schema and data. You will be prompted to enter your newly created password.
zcat /usr/share/doc/zabbix-sql-scripts/mysql/server.sql.gz | mysql -uzabbix -p zabbix
Disable log_bin_trust_function_creators option after importing database schema.
mysql -uroot -p
password
mysql> SET GLOBAL log_bin_trust_function_creators = 0;
mysql> quit;
d. Configure the database for Zabbix server
Edit file /etc/zabbix/zabbix_server.conf
sudo vim /etc/zabbix/zabbix_server.confDBPassword=password
e. Configure PHP for Zabbix frontend
Edit file /etc/zabbix/nginx.conf, uncomment and set ‘listen’ and ‘server_name’ directives.
# listen 8080;
# server_name example.com;
sudo vim /etc/nginx/conf.d/zabbix.conf
上記の zabbix用のconfが自動的に作成されている。

listen 8080をコメントアウト
server_nameをzabbix.techlog.mydns.jpに変更
同時に MyDNSのほうで zabbixでサブドメインを取得
f. Start Zabbix server and agent processes
Start Zabbix server and agent processes and make it start at system boot.
# systemctl restart zabbix-server zabbix-agent nginx php8.1-fpm
# systemctl enable zabbix-server zabbix-agent nginx php8.1-fpm
sudo systemctl enable zabbix-server zabbix-agentzabbix-server zabbix-agent の2つをサービス登録
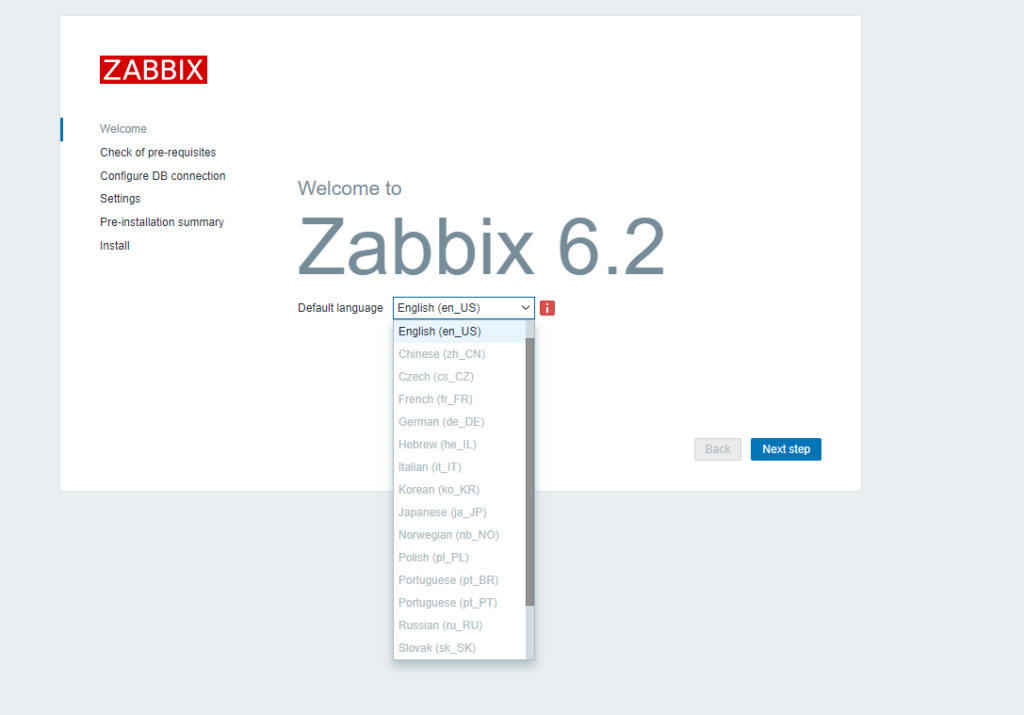
日本語が選択できない・・・。

日本語導入
sudo apt-get install task-japanese
sudo dpkg-reconfigure locales
[*] ja_JP.UTF-8 UTF-8 を追加、デフォルトにも指定
sudo reboot再起動

日本語が選択できました。


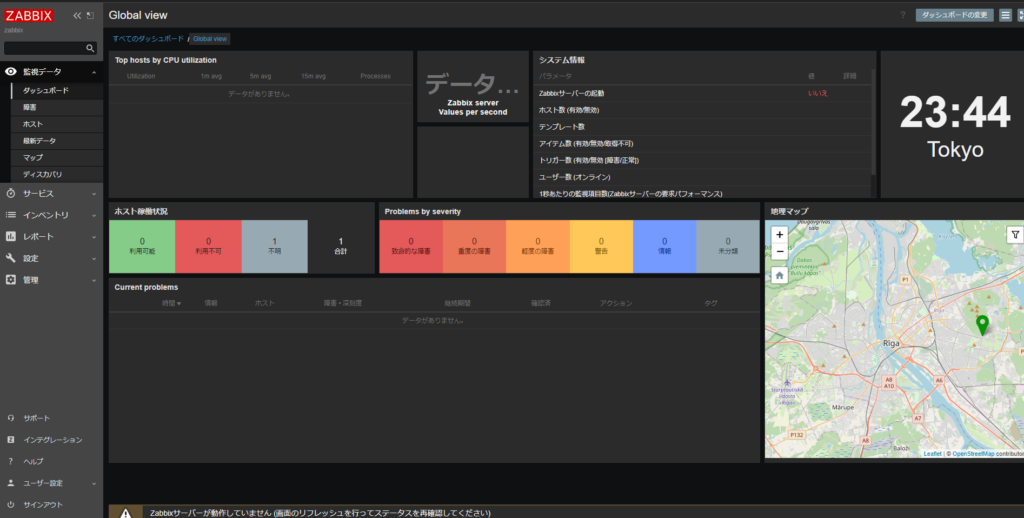
上記コマンドを実行後、画面が進んだ。


ZABBIXの画面、カッコいいですね✨
HTTPS化
せっかくなので、
sudo certbot
でHTTPS化もちゃちゃっとしておきます。
他のサーバでzabbix-agentをインストールする場合
wget https://repo.zabbix.com/zabbix/6.2/ubuntu-arm64/pool/main/z/zabbix-release/zabbix-release_6.2-1+ubuntu22.04_all.deb
sudo dpkg -i zabbix-release_6.2-1+ubuntu22.04_all.deb
sudo apt update
sudo apt install zabbix-agent

sudo systemctl enable zabbix-agent
sudo systemctl start zabbix-agent